Create Your Own Art Project
Project Description:
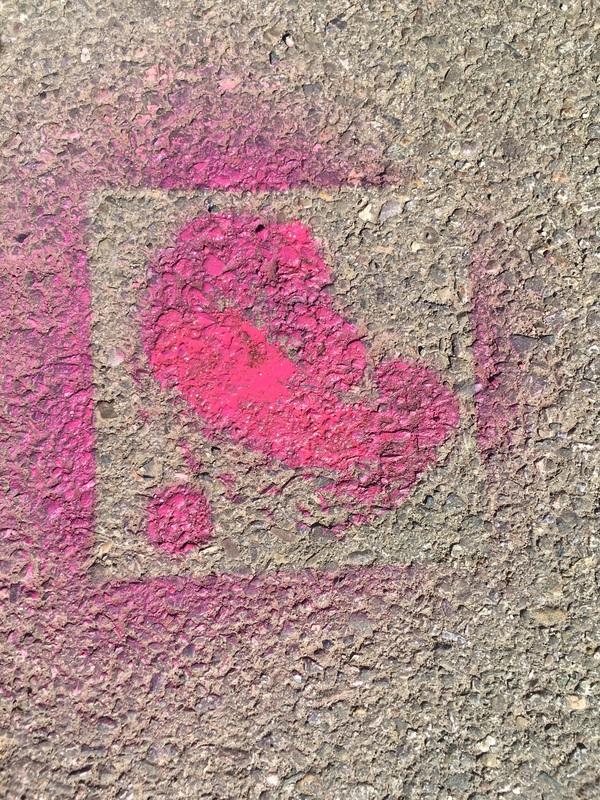
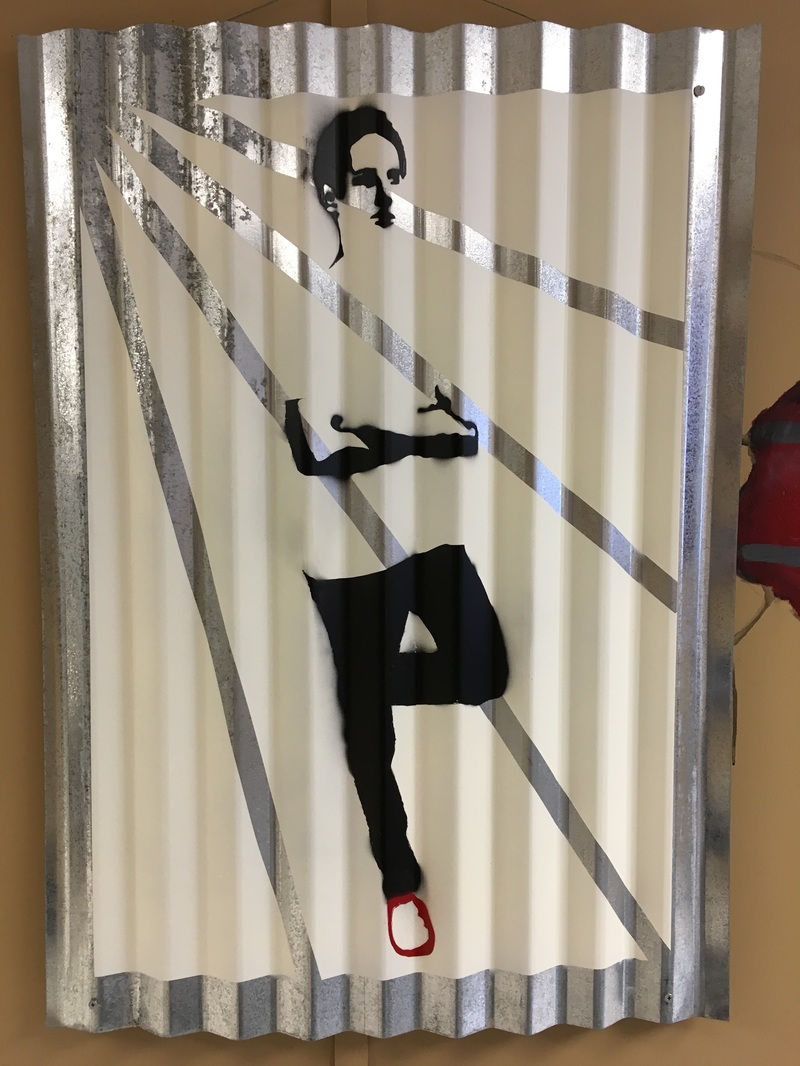
For this project we were given the chance to create any form of art that we wanted to. I chose to create a Banksy styled graffiti piece that turned out to look way better than I thought it would. This project also allowed me to use my independent research skills to learn how to create a piece of art that I had no experience with, as you can see in my pre-assessment. I really liked this project because we had so many options that we could do and you could make it really personal to you.
For this project we were given the chance to create any form of art that we wanted to. I chose to create a Banksy styled graffiti piece that turned out to look way better than I thought it would. This project also allowed me to use my independent research skills to learn how to create a piece of art that I had no experience with, as you can see in my pre-assessment. I really liked this project because we had so many options that we could do and you could make it really personal to you.
|
Pre-assesment
|
Final Product
|
Environmental Documentary Project
Project Description:
For this project we had to learn a lot about how to film interviews, film b roll, edit our film, and many more things. We watched documentaries and videos on basic film tips as a good introduction to the project. Towards the end of the project we had several critiques to prepare our films for the exhibition. I thought that this was a good way to introduce problems in our society that many people don't know about.
For this project we had to learn a lot about how to film interviews, film b roll, edit our film, and many more things. We watched documentaries and videos on basic film tips as a good introduction to the project. Towards the end of the project we had several critiques to prepare our films for the exhibition. I thought that this was a good way to introduce problems in our society that many people don't know about.
Project Reflection:
In this project the skill that I found to be most improved was refinement and perspective because we had to put a lot of work in to make our film to sound good, edited well, etc. We had to use perspective by thinking of how we were going to set up the film through writing storyboards and outlines. I think that an artist can create art by expanding images because the more things you add onto an original design the better it can be. An artist could start with a very simple idea but can make it much better by expanding it and adding on. I think that an artist produces preliminary plans for projects because they need to have a base line and a place to work from. It can also help by keeping you on track throughout the project so you don't forget your ideas or lose track of what you're doing.
In this project the skill that I found to be most improved was refinement and perspective because we had to put a lot of work in to make our film to sound good, edited well, etc. We had to use perspective by thinking of how we were going to set up the film through writing storyboards and outlines. I think that an artist can create art by expanding images because the more things you add onto an original design the better it can be. An artist could start with a very simple idea but can make it much better by expanding it and adding on. I think that an artist produces preliminary plans for projects because they need to have a base line and a place to work from. It can also help by keeping you on track throughout the project so you don't forget your ideas or lose track of what you're doing.
Mini Stop Motion Project
|
|
Basic Project Description
When we first started making our stop motion video we made a background out of cardboard and taped them together. Next we made a rail out of a ruler and poker chips, a protractor, and a wood circular piece for the curb. We used a normal light to add some affect to the pictures and to brighten up the picture. After we had taken all of our pictures we resized them all in Photoshop. Next I put them in Adobe Flash and put them into a movie. Then I saved it and uploaded the video to my dp. |
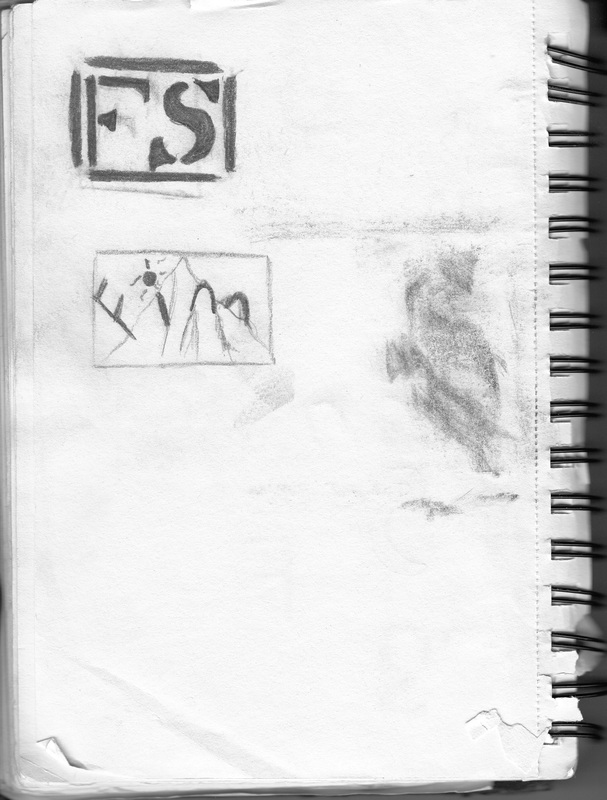
Design a Logo Project
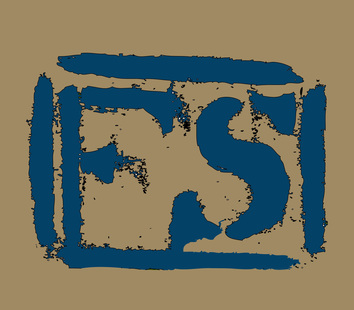
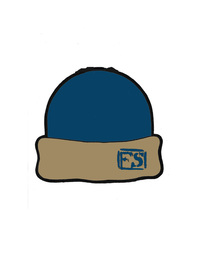
Final Logo
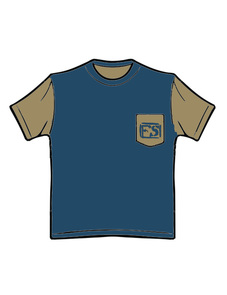
Final Clothing Designs
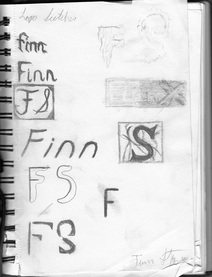
Preliminary Sketches
|
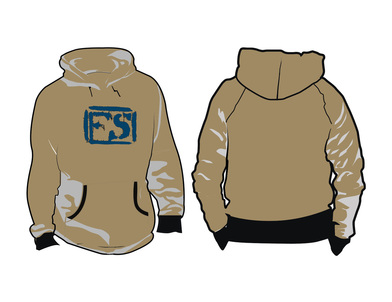
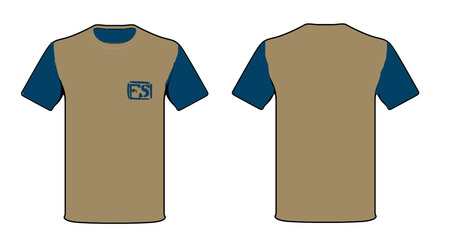
Project ReflectionIn the Logo Project I learned new skills in Illustrator and Photoshop such as how to use the paint bucket tool and how to make different selections to change the color of a part of the shirt. I also learned how to use the scanner to put my preliminary sketches on the computer. I am going to take the skills I learned like how to change color of clothing and design clothes and use it for future projects for this class. My biggest connect with the colors of the logo and the military styled letters. The only thing that I found challenging in the project was the process of learning new skills in Illustrator.
|
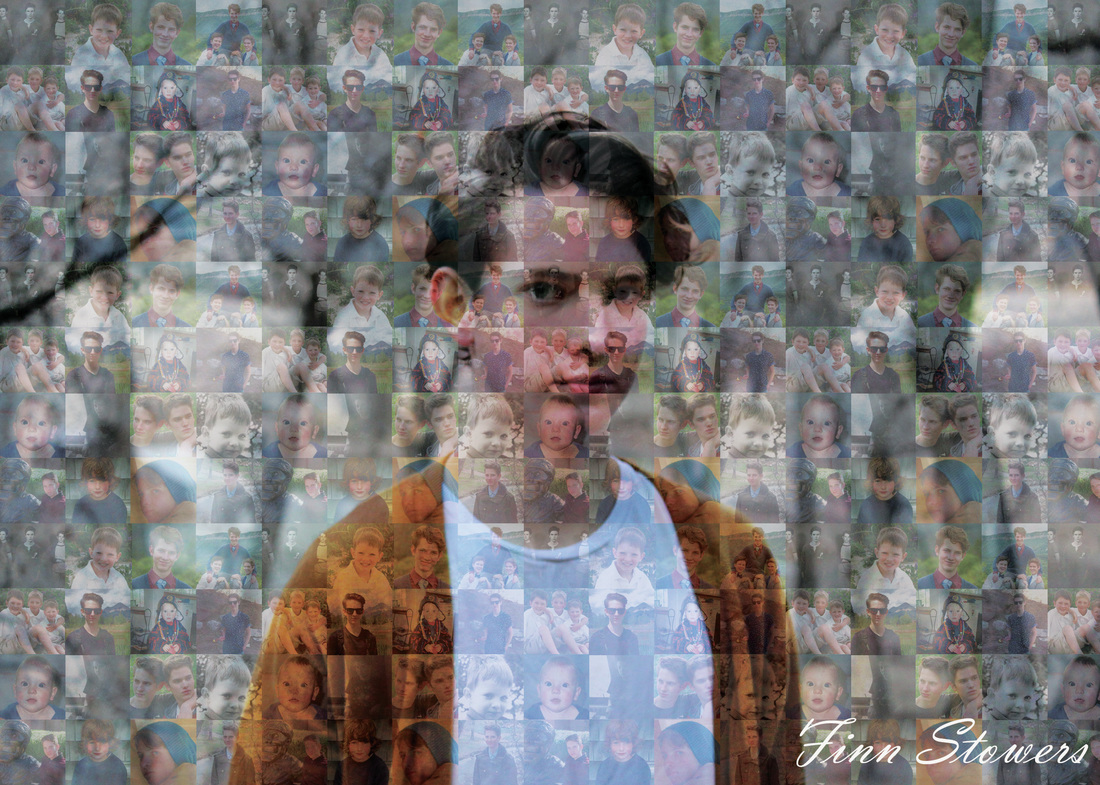
Self Portrait Project
|
Project Reflection
I think that it is important to understand the intentions behind a art piece because the artist has a meaning to every piece and it may show different emotions with the artist or they are trying to tell you something. Each art piece is different than the other and has many different aspects to it. No art piece is the same and each one has a different meaning or feeling. This applies to a self portrait because the person is unique and a self portrait can express the artist creativity. I think that the characteristics and expressive features of art and design are used to create a self portrait by experimenting with different ways to take the picture such as lighting, color, texture, space, and value. These characteristics define the different ways the artist wants the viewers to see themselves. Changing expressive features can change the mood of the picture by the way the person looks or the feeling you get form the portrait. |
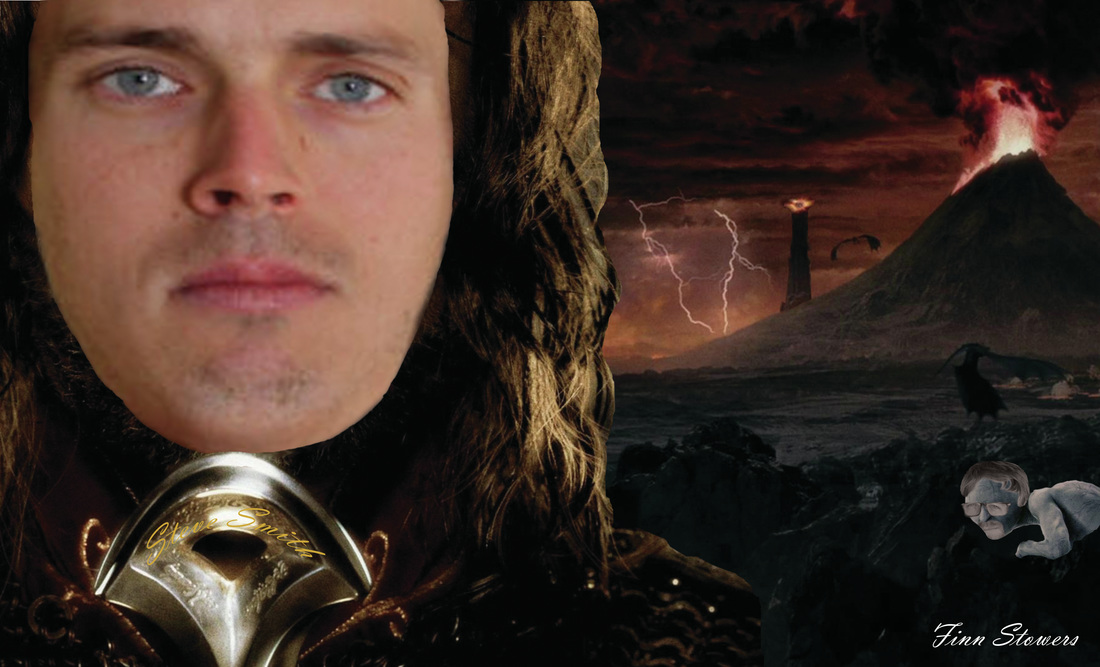
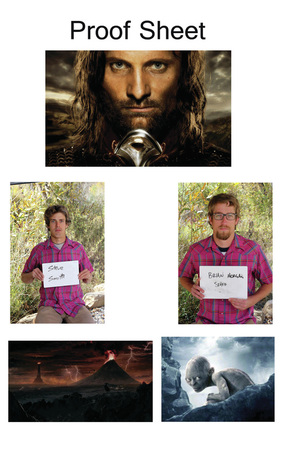
Teacher Creature Project
|
Project Reflection
I had a lot of fun during the Teacher Creature Project making teachers into Lord Of The Rings Characters and my skills in Photoshop got better. Throughout the project I didn’t run into any big problems which made the project more enjoyable. I started by sending a survey to four teachers and got ideas for my project with their responses. I then chose to have a Lord Of The Rings theme and to incorporate Steve and Brian into characters from the movie. Then I chose pictures for my project such as the Mordor landscape, Steve and Brian's school pictures, Gollum, and Aragorn. First I put the picture of Aragorn and put Steve's face on him. I used Photoshop tools to make his face look balanced. I then put the Mordor background and moved the tower to make it look like it was behind the volcano. Next I put Gollum behind the rocks and put Brian's face features onto him. I used the warp tool to make the eyes, hair, and beard fit better on his head. I then used the eraser tool to make Steves head look cleaner. The hardest part of this project was when I had to make Steves head look balanced on Aragorns body. I was able to get through this by making his skin color darker by pressing Ctrl U and darkening his face. I really liked using photoshop more than just drawing because it gives me more options in what I am trying to do. |
Photoshop Tutorials
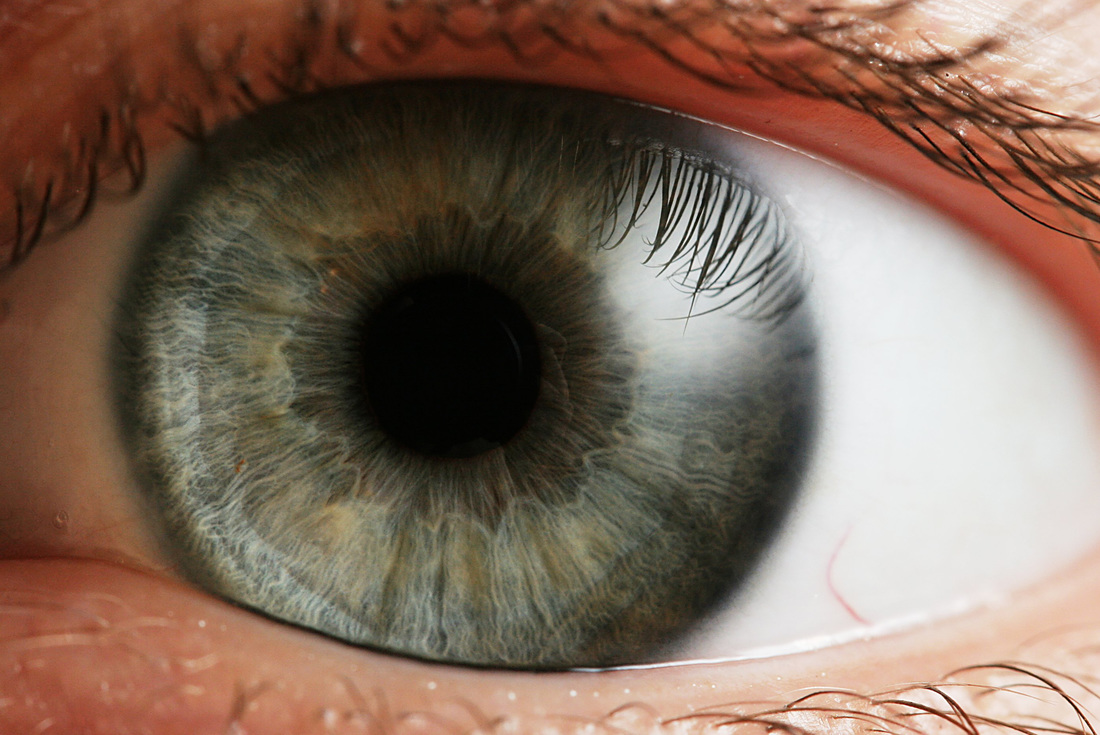
Original Image (Before)
|
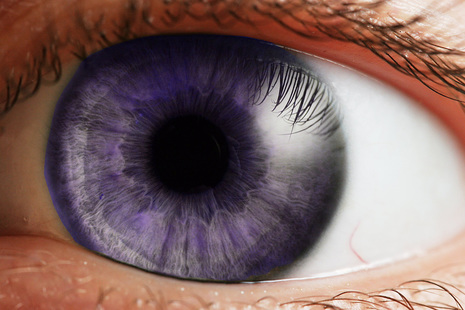
Photoshopped Image (After)
|
I changed the color of the eye by using the pen tool and selecting the pupil, then pressing Ctrl U to change the color of the eye.
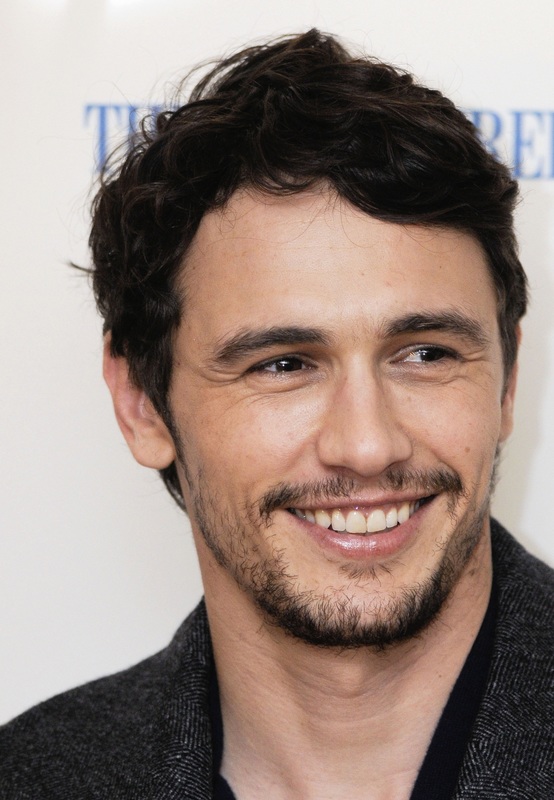
Original Image (Before)
|
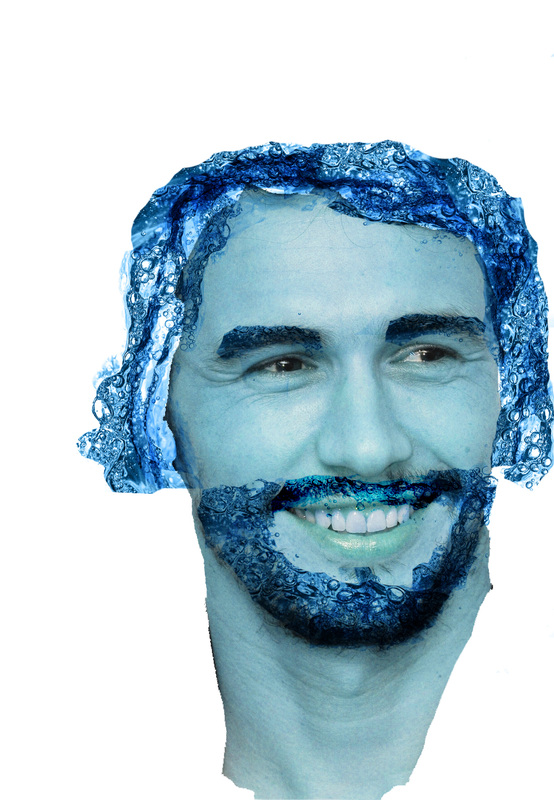
Photoshopped Image (After)
|
I selected James Fracos neck and face with the pen tool and then pressed Ctrl U and changed the cover of his face. I then got a picture of water from the internet and put it on his face by multiplying layers and using the eraser tool to make it all fit together.
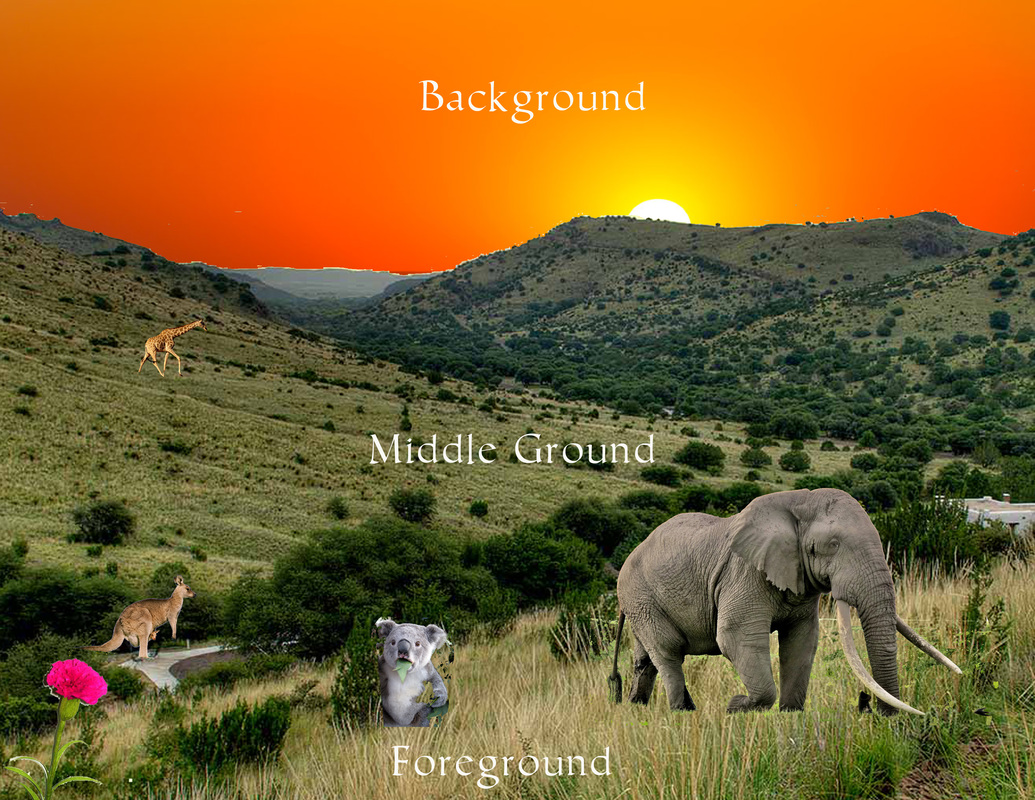
Landscape Project
|
I learned a lot from this mini project but the most important thing I learned was how to use the Photoshop tools. In this project I was able to experiment with the move tools and learn how they worked. The biggest tools I used were the lasso tool to cut and paste an image onto my picture and the magic wand tool to delete the extra space around it. I was also able to experiment with changing the size of the object to make it look like it fit on the image. I learned how to place layers behind each other things like the sunset. I learned a lot about foreground, middle ground, and background and their placement in pictures. Another thing I learned was the difference between a JPEG and a Photoshop Document. The JPEG means that you can't go back and change the image after you make it a JPEG. The Photoshop Document means that you can go back into Photoshop and edit the image. This mini project taught me a lot about the basics of Photoshop.
|
Helpful Recourse Section
Free Photoshop Brushes (brusheezy.com)
Free Fonts (dafont.com)
55 Ways to Use Text
100 Ways to Use Text
Youtube Tutorials
Digital Art Online
Photoshop CC Basics: http://jetsetcom.net/useful-resources/photoshop-cc-resources.html
SHOW and TELL Photoshop Basics: http://simplephotoshop.com/photoshop_tools/index.htm
Free Fonts (dafont.com)
55 Ways to Use Text
100 Ways to Use Text
Youtube Tutorials
Digital Art Online
Photoshop CC Basics: http://jetsetcom.net/useful-resources/photoshop-cc-resources.html
SHOW and TELL Photoshop Basics: http://simplephotoshop.com/photoshop_tools/index.htm
